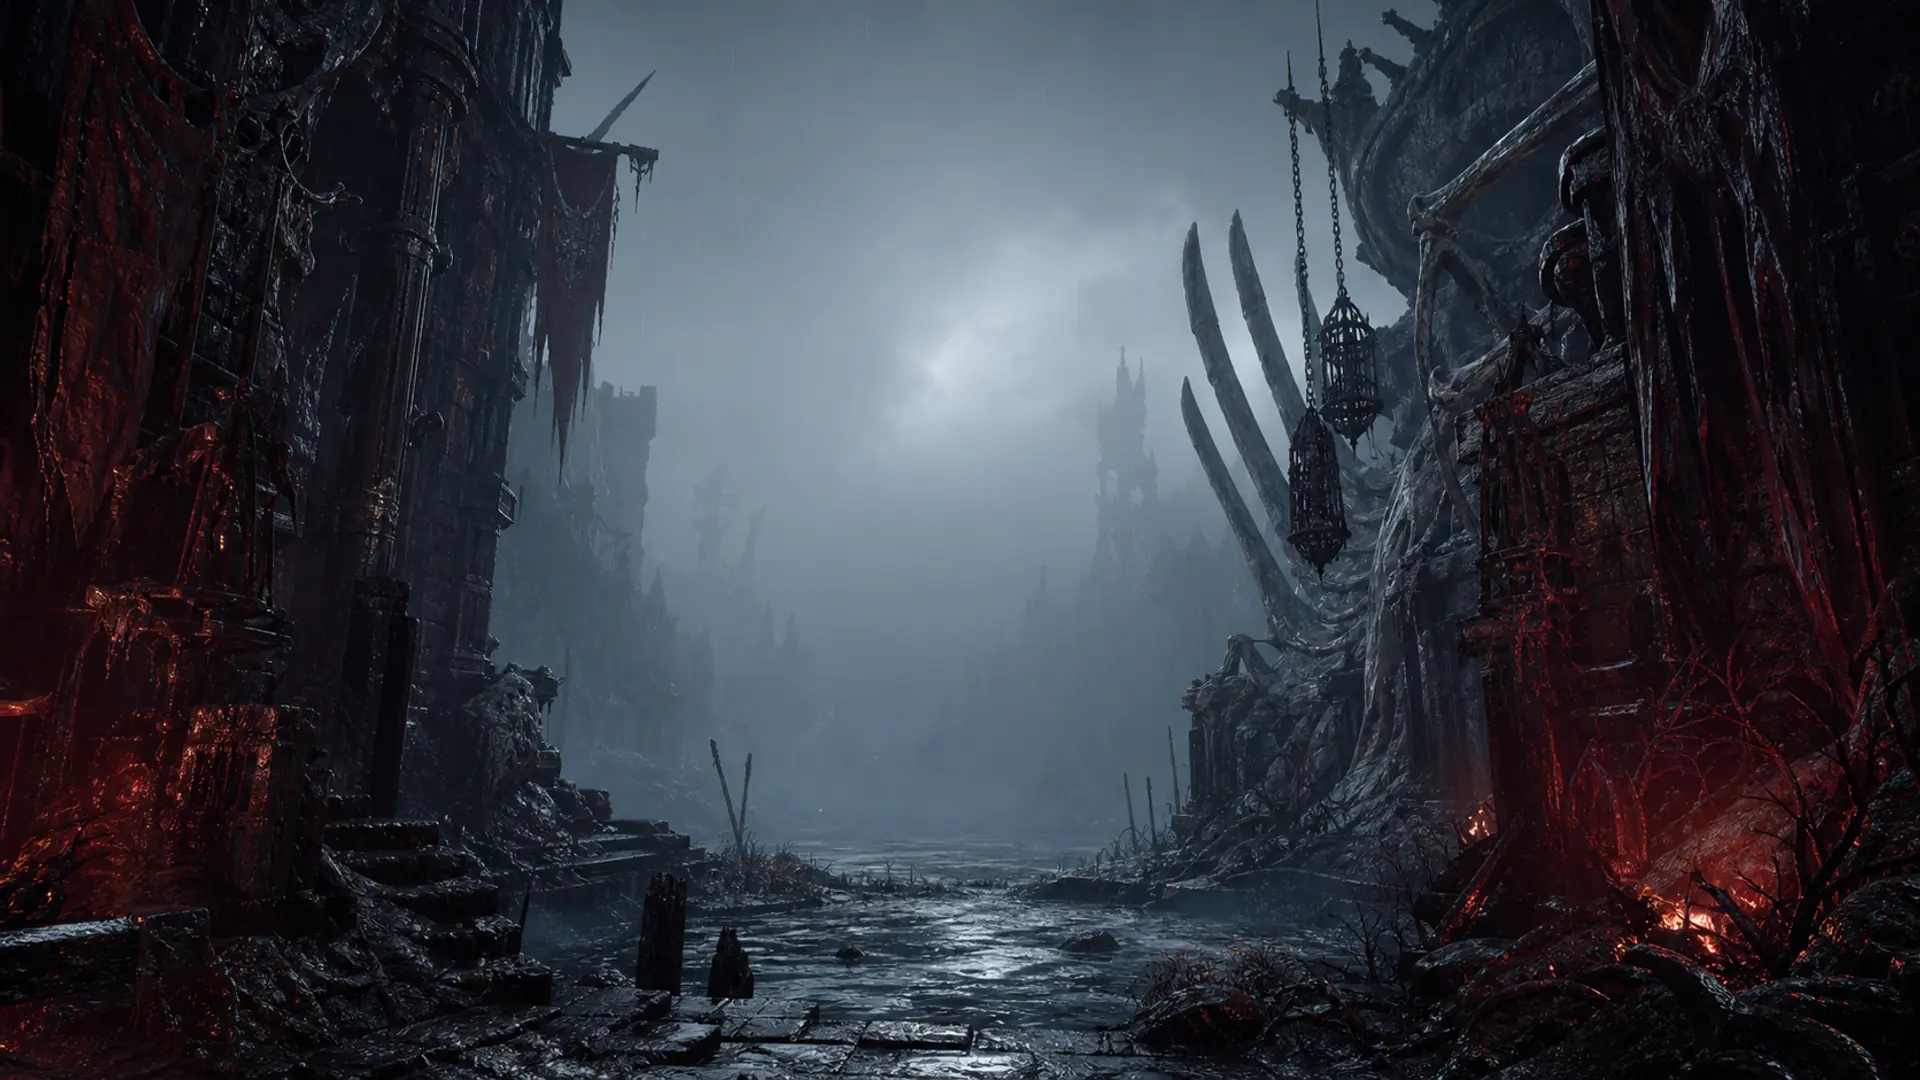
Mortal Shell 2 Boss Guides
Fainweald gate bosses include Magdalena in the Glutted Mire, The Lost Child in Sanguine Caverns, and the Nameless Captive in Prisoner's Domain. Later gates add Droeg in the Conquered Temple, the Hexapod in the Withered Shoals, and Isaac in the Faded Citadel. Optional fights such as the Tar Golem and Great Arbiter of Flesh sit on the way.
Use this hub when
- You reached a corrupted gate and need the boss at the end of the route.
- You are looking for an optional boss near a Beacon.
- You need the summon or the pickup that drops when the boss dies.
Current guides
Mortal Shell 2 Great Arbiter of Flesh Guide
From Widow’s Overlook, look in the open cemetery area before Tiel’s grave. The Great Arbiter of Flesh roams there and drops Arbiter’s Prize.
- Location
- Open cemetery near Widow’s Overlook
- Reward
- Arbiter’s Prize
Last verified: 8/24/2026
Read the guide
Mortal Shell 2 Gloombound Ritualist Location
From the Village Outskirts Beacon, cross toward the sunken area and fight the Gloombound Ritualist in that hollow.
- Location
- Sunken area past Village Outskirts
Last verified: 8/24/2026
Read the guide
Mortal Shell 2 Hexapod Boss Guide and Location
Enter the Withered Shoals gate in the Ruins of Mammon, continue toward the Nameless Pass Beacon, and fight the Hexapod at the end of that route.
- Location
- Withered Shoals gate, near Nameless Pass
- Reward
- Hexapod Core
Last verified: 8/24/2026
Read the guide
Mortal Shell 2 Isaac the Scholar-Prince Guide
Clear the Faded Citadel route past the Citadel Atrium Beacon and fight Isaac, the Scholar-Prince, at the end of that gate.
- Location
- End of the Faded Citadel gate
- Last Beacon
- Citadel Atrium
- Reward
- Scholar’s Wormstone
Last verified: 8/24/2026
Read the guide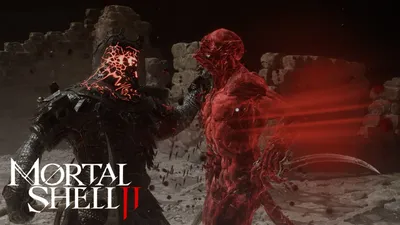
Mortal Shell 2 Lucian the Thirsting Knight Guide
Enter the Hidden Keep Beacon dungeon, beat Lucian, the Thirsting Knight, and cleanse Stonebled Gate. That cleansing opens the Sanguine Caverns gate.
- Location
- End of the Hidden Keep dungeon
- Unlocks
- Stonebled Gate, then Sanguine Caverns
Last verified: 8/24/2026
Read the guide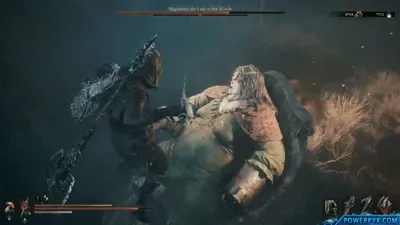
Mortal Shell 2 Magdalena Boss Guide and Location
Reach Magdalena’s Glade in the Glutted Mire, summon Smert if you want help, dodge the ramming and spinning attacks, and claim Magdalena’s Memento.
- Location
- Magdalena’s Glade in the Glutted Mire
- Available summon
- Smert
- Reward
- Magdalena’s Memento
Last verified: 8/24/2026
Read the guide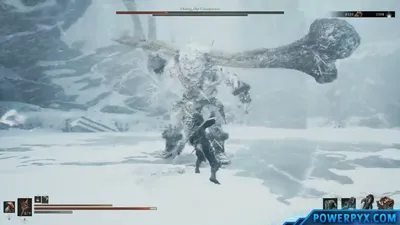
Mortal Shell 2 Droeg the Conquerer Boss Guide
Clear the Conquered Temple route past the Ovate’s Chamber Beacon and fight Droeg, the Conquerer, at the end of that gate.
- Location
- End of the Conquered Temple gate
- Last Beacon
- Ovate’s Chamber
- Reward
- Conquerer’s Reward
Last verified: 8/24/2026
Read the guide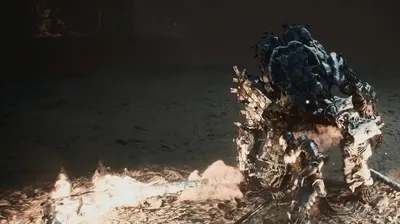
Mortal Shell 2 Tar Golem Boss Guide and Location
From Disciple’s Grotto, follow the slope toward the Bone Gate and fight the Tar Golem. The pickup for this fight is Vatra’s Seal.
- Location
- Past Disciple’s Grotto, toward the Bone Gate
- Reward
- Vatra’s Seal
Last verified: 8/24/2026
Read the guide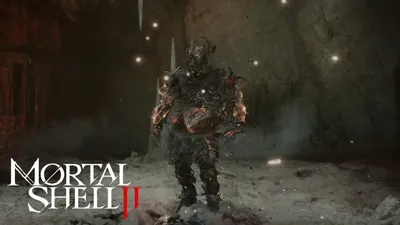
Mortal Shell 2 Tarblighted Stoner Location
Past the Sanguine Shoreline Beacon, fight the Tarblighted Stoner on the cliff before The Lost Child. The pickup is Tarred Fragment.
- Location
- Sanguine Caverns, before The Lost Child
- Reward
- Tarred Fragment
Last verified: 8/24/2026
Read the guide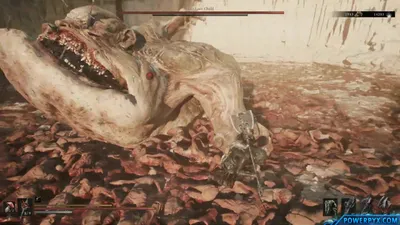
Mortal Shell 2 Lost Child Boss Guide and Location
Enter from Sanguine Caverns, stay off The Lost Child’s front, dodge the open-mouth swallow sideways, and land short hits on the flank after a committed attack ends.
- Location
- End of the Sanguine Caverns route
- Grab response
- Dodge sideways, not straight back
- Available summon
- Tiel, before the arena gap
Last verified: 8/24/2026
Read the guide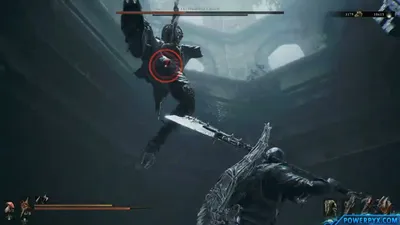
Mortal Shell 2 Nameless Captive Boss Guide
Reach Prisoner’s Domain past the Executioner’s Pulpit Beacon, fight the Nameless Captive at the end of that gate, and pick up Captive’s Scabstone.
- Location
- Prisoner’s Domain, past Executioner’s Pulpit
- Reward
- Captive’s Scabstone
Last verified: 8/24/2026
Read the guide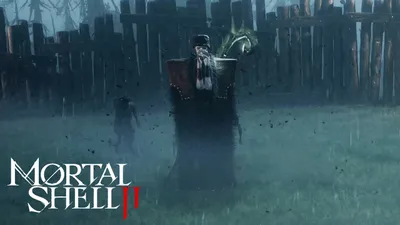
Mortal Shell 2 Wandering Shepherd Boss Guide
From the Sunken Village Beacon, cross the nearby bridge and fight the Wandering Shepherd on the farm side of that route. The pickup is Sheephead Totem.
- Location
- Past the bridge by Sunken Village Beacon
- Reward
- Sheephead Totem
Last verified: 8/24/2026
Read the guide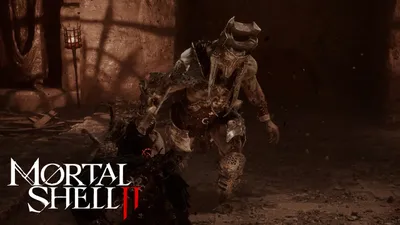
Mortal Shell 2 Vrago Solikar Champion Guide
Cleanse the Nochtean Gate Beacon, finish the Abandoned Shrine, and beat Vrago, Solikar Champion, to open Prisoner’s Domain.
- Location
- End of the Abandoned Shrine dungeon
- Unlocks
- Prisoner’s Domain gate
- Reward
- Voltaic Crown
Last verified: 8/24/2026
Read the guide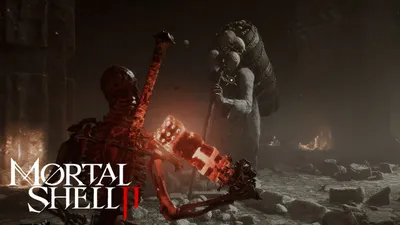
Mortal Shell 2 Vrannic Boss Guide and Location
Cleanse the Mushroom Village Gate Beacon, enter the Hall of Illusions, and fight Vrannic, the Grand Illusionist, at the end of that dungeon.
- Location
- Hall of Illusions, Mushroom Village Gate
- Reward
- Volatile Fragment
Last verified: 8/24/2026
Read the guideQuestions this hub already answers
Where is Magdalena, the Lady of the Woods?
At Magdalena's Glade in the Glutted Mire. Smert is the available summon for that fight.
Where is The Lost Child?
At the end of the Sanguine Caverns route. Approach from the Sanguine Shoreline area and enter through the gap at the end of the cave.
Where is the Nameless Captive?
Beyond the Executioner's Pulpit Beacon in Prisoner's Domain.
Other guide hubs
Mortal Shell 2 Walkthroughs and Guides
Mortal Shell 2 first-hour routes, launch facts, and solutions to common blockers.
Mortal Shell 2 Shell Locations
Where to find each Mortal Shell 2 warrior Shell, the landmarks on the route, and how to acquire it.
Mortal Shell 2 Weapon Locations
Mortal Shell 2 weapon pickup routes, required keys, shrine gates, and landmarks.
Mortal Shell 2 Location Guides
Mortal Shell 2 hub exits, lifts, Beacons, and routes that do not look like a normal door.